Laser air assist
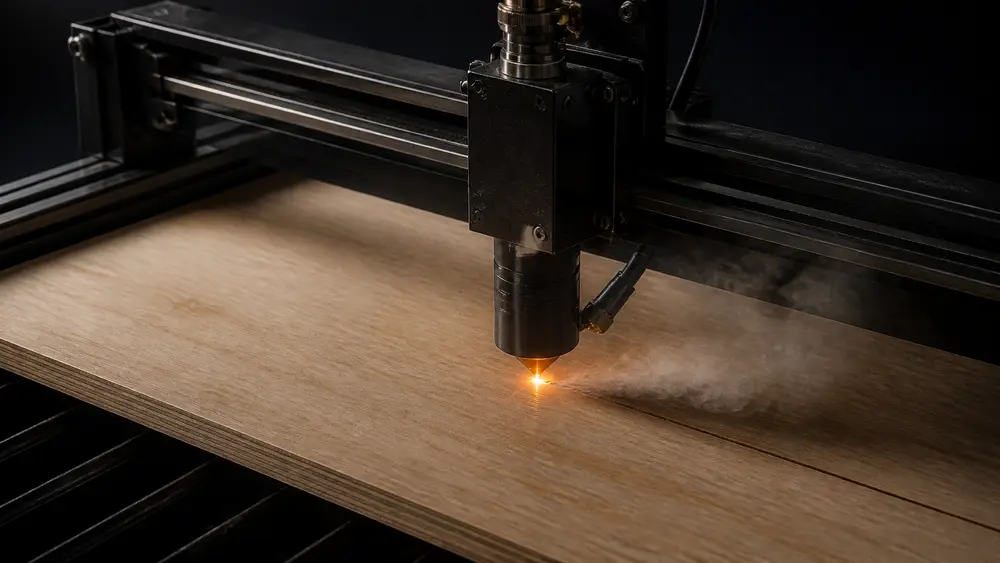
Air assist blows a jet of air at the spot where the beam hits. It pushes smoke and flame out of the cut and keeps soot off the lens. Turn it up for cutting, down for engraving. Below: watch what the air does to a cut, compare the makers’ own pump figures, and work out what your nozzle really gets.
 What it doesMoves smoke and flame out of the cut and keeps the lens clean (LightBurn, Thunder Laser).
 Cutting: strongxTool’s M1 Ultra guide: MAX by hand, 4 in its software.
 Engraving: gentlexTool’s default is 1. Thunder Laser: too much air can distort the engraving.
 Pump or compressorHobby pumps: 25–60 L/min; Longer lists 30 kPa for its 30 L/min kit. xTool’s P2S built-in pump: up to 200 kPa.
Turn the air up and watch the cut
Pick a job and move the air knob. With no air, smoke rises into the beam and the lens, flames lick the top of the cut and the char spreads. Turn it up and the jet blows the flame down and the smoke out through the bottom. The green band roughly shows the makers’ direction for that job (strong for cutting, gentle for engraving); where it starts and ends is our own guess.
1What the laser is doing
2Air assist knob
What air assist does
LightBurn’s manual describes it plainly: air assist blows air onto the material at the spot where the beam strikes, and it can help prevent soot build-up and charring, and aid in cutting. On a diode laser that usually means a small pump, a tube and a nozzle around the beam; CO2 machines often have it built in.
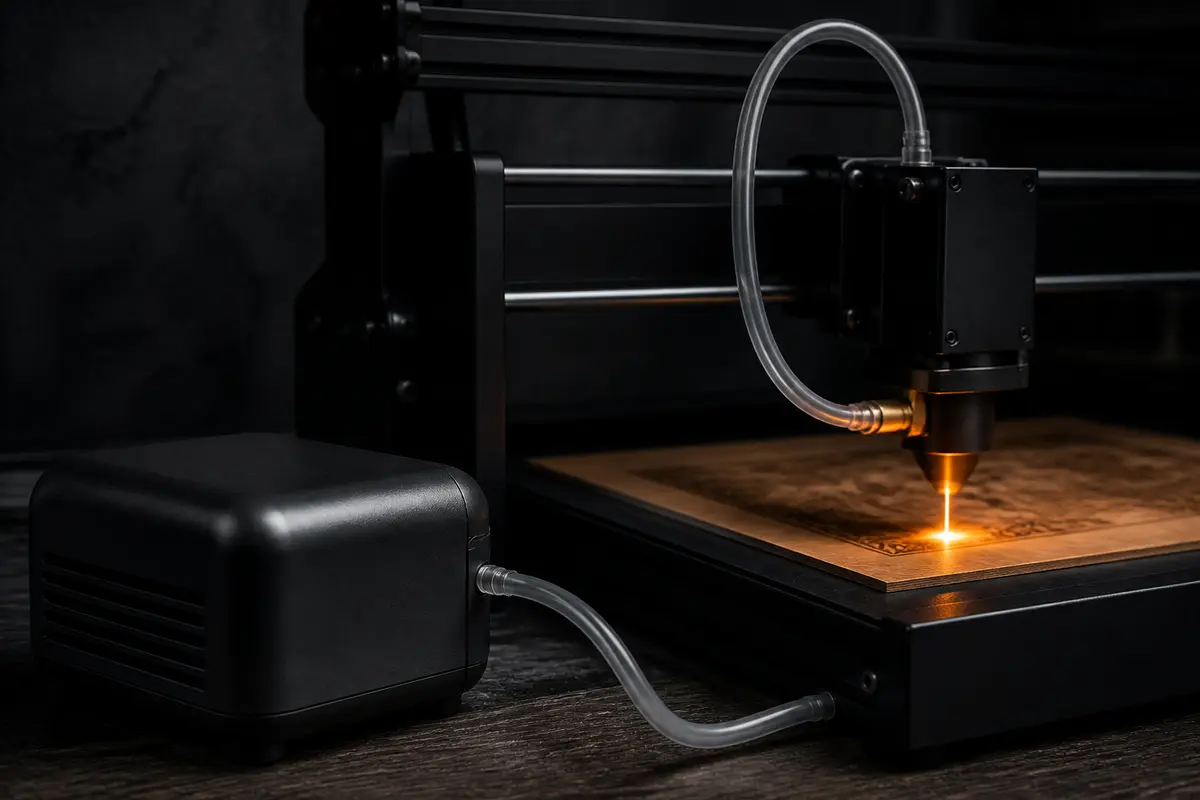
- Moves the smoke. Thunder Laser says air assist removes smoke and reduces charring, for smoother cut edges.
- Keeps the lens clean. Thunder Laser: it stops debris and smoke getting into the laser head and lenses. xTool’s D1 Pro manual says the same of blowing away smoke and air-borne debris.
- Lowers the chance of flames. Epilog designs air assist to remove heat and combustible gases from the work surface, and calls it absolutely essential when cutting acrylic.
- Helps thick cuts. Thunder Laser says high-pressure air brings more oxygen to the cut, for faster cutting of thicker material, and some maker cut figures assume it (Sculpfun’s S40 Max: 20 mm plywood in one pass with its 50 L/min pump). Sculpfun’s S30 Ultra page says cutting is “more than 5 times faster” than without air assist, but gives no conditions or test method, so we do not use that figure.
For how deep a laser cuts with and without help, see how thick can a laser cut; for settings by material, the material pages.
Why cutting and engraving want different air
Every maker that gives settings separates the two. xTool’s M1 Ultra guide puts the knob at MAX for cutting and at level 1 for engraving when you adjust by hand, and its software defaults are 4 and 1. On the P2 and P2S CO2 lasers the built-in pump is set in per cent, separately for cutting and engraving, and xTool says to raise it for cutting and lower it for engraving (at least 30 % on the P2, 10 % on the P2S). Thunder Laser’s CO2 machines have two air stages, Cut and Engrave, each with its own needle valve.
Why gentle for engraving? Thunder Laser’s answer is that excessive airflow can distort the engraved pattern. A little air still keeps smoke off the lens; owners on the LightBurn forum disagree about how much, which is opinion rather than a maker figure.
Clear acrylic on a CO2 laser is the exception for cutting. Trotec’s acrylic guide asks for compressed air or standard air assist through a large-diameter nozzle at no more than 1.5 psi (0.1 bar), and says negative pressure (downdraft exhaust) matters more than airflow. A 2014 Trotec blog post adds that too much air leaves a bubbly, cloudy edge. More on the acrylic page; a blue diode cannot cut clear acrylic at all (diode vs CO2 vs fiber).
 Maker air assist pumps, side by side
Hobby air assist is sold by flow, in litres per minute; makers rarely say how it was measured. Here is what each maker publishes. We have not measured any of these. On 2026-11-02 several maker stores refused our requests, so rows marked “maker’s listing only” come from the product title or a search excerpt of the maker’s own page, not a full read; check the live page before you buy.
| Product | Flow · pressure | Control and notes |
|---|---|---|
| AtomStack F60 air assist (in the X70 Max box; also an A40 Pro V2 bundle)Read on the maker’s page · 2026-10-27 | 0–60 L/min | Adjustable0–60 L/min from the X70 Max page; the A70 Max lists an air pump with the same 0–60 L/min, “infinitely adjustable”. The F60 set’s own listing reads 10–60 L/min. |
| AtomStack F80 air assist setMaker’s listing only · 2026-11-02 | 60 L/min | Details not read (store unreachable) |
| Sculpfun 30L/Min Air PumpRead on the maker’s page · 2026-11-02 | 0–30 L/min | Rotary knob; under 40 dBListed for the S10 and similar machines. |
| Sculpfun Automatic Air Assist System Kit (12 V S9, S10)Read on the maker’s page · 2026-11-02 | 30 L/min | The controller switches the pump; M8 in LightBurnNo air nozzle included (sold separately). Sold out when checked on 2026-11-02. |
| Sculpfun 50 L/min pump included with the S70 Max and S40 MaxRead on the maker’s page · 2026-10-29 | 50 L/min | Not statedThe S70 Max cut figures are “with the standard 50L high flow air pump”. |
| Sculpfun Pump in the S30 Ultra 33W boxRead on the maker’s page · 2026-10-27 | 30 L/min | Automatic, 24 V |
| xTool Smart Air Assist (S1, M1 Ultra)Read on the maker’s page · 2026-11-02 | 0–30 L/min | Adjustable; DC 24 V. The spec table gives pressure as “≥30” with no unit, so we do not use itThe older xTool Air Assist Set’s product pages now return 404. The knob settings in the text (AUTO; MAX to cut, level 1 to engrave) are from xTool support article 1464 on the M1 Ultra. |
| xTool P2 built-in air pump (55 W CO2)Read on the maker’s page · 2026-11-02 | —150 kPaour calculation: xTool says the P2S’s 200 kPa is 33 % higher than the P2 | Set in % in the software, at least 30 %; separate for cutting and engraving |
| xTool P2S built-in air pump (55 W CO2)Read on the maker’s page · 2026-11-02 | —200 kPa | Dual-cylinder; set in %, minimum 10 %; no external pumpsxTool recommends raising the air for cutting and lowering it for engraving. |
| TwoTrees Air Assist Kit 30L/min (TTS Pro, TS2)Maker’s listing only · 2026-10-27 | 30 L/min | Details not read (store unreachable) |
| TwoTrees P2 Air Assist Pump 25L/min (TTS Pro, TS2)Maker’s listing only · 2026-10-27 | 25 L/min | Details not read (store unreachable) |
| Longer Air assist kit for the RAY5 5W / 10WMaker’s listing only · 2026-11-02 | up to 30 L/min30 kPalisted as 0.03 MPa | Under 60 dB |
| Creality Falcon2 22W built-in air assistRead on the maker’s page · 2026-10-27 | — | “Integrated air assist”; flow not statedWe could not read the spec table of Creality’s separate air-assist pump. |
“Maker’s listing only” = the product title or a page excerpt, not a full read. Flow and pressure are the makers’ figures; pressure is the maximum, where given.
Affiliate links: the AtomStack, Sculpfun and TwoTrees product links in this table go through Awin, and we may earn a commission if you buy, at no extra cost to you. We have not tested these products.
Where to get air assist
AtomStack and Sculpfun sell their air assist on their own stores. Compare the listed flow with the table above; for a lot of cutting, the larger pumps (50–60 L/min) are what the makers pair with their bigger lasers (see the AtomStack and Sculpfun machine pages).
- AtomStackAtomStack F30 air assist set
- AtomStackAtomStack F60 air assist set (listed 10–60 L/min)
- AtomStackAtomStack F80 air assist set (listed 60 L/min)
- SculpfunSculpfun 30L/Min Air Pump (0–30 L/min, under 40 dB)
Affiliate links: these go to AtomStack’s and Sculpfun’s stores through Awin, and we may earn a commission if you buy, at no extra cost to you. We have not tested these products. Check on the listing that the nozzle and fittings suit your laser head.
Pump or compressor? What your nozzle really gets
A pump box usually gives a flow and sometimes a pressure. We treat them as the flow with nothing attached and the pressure with the outlet blocked (our assumption; makers rarely say), so your nozzle sits somewhere in between. Enter the pump and the size of the nozzle hole to see what actually comes out — or switch to a compressor to see how much air a given pressure uses.
1Your air source
2Your nozzle
The math behind the calculator
These are the standard nozzle equations for air (γ = 1.4, R = 287 J/kg·K; p₀ is the absolute pressure behind the nozzle, pₐ the air outside). The assumptions are ours: a discharge coefficient Cd of 0.8, 20 °C, sea-level air, no loss in the tubing, and a straight line between the two ratings on the pump box. Real pumps, hoses and nozzles differ, so use the results to compare options, not to predict a cut. Units: 1 CFM = 28.317 L/min, 1 psi = 6.895 kPa, 1 bar = 100 kPa, 1 MPa = 1,000 kPa.
Pump or compressor at a glance
| Air pump (diaphragm) | Compressor + regulator | |
|---|---|---|
| Sold by | Flow: 25–60 L/min in the maker figures above | Pressure, plus air delivery on the label |
| Pressure | Longer lists 30 kPa (0.03 MPa) for its 30 L/min kit; the 50–60 L/min pumps above give none | Set by the regulator; xTool’s P2S built-in pump goes up to 200 kPa |
| How it runs | All the time; Epilog: small diaphragm pumps have no pressure shut-off switch | The tank fills and a pressure switch stops the motor; needs a valve that does not vent the tank (Epilog) |
| Extra parts | None | Regulator, water trap, filter |
| Makers | Some machines include one (Sculpfun S30 Ultra, S70 Max); others sell it separately or in bundles (TwoTrees TTS, TS2) | Thunder Laser: advisable if your work involves more cutting |
xTool’s P2 and P2S cannot use an external pump at all: xTool says the built-in pump has to talk to the mainboard in real time.
 Setting up Air Assist in LightBurn (M8 and M9)
LightBurn does not blow the air; it sends a signal at the start of each layer. If your pump has only a power switch, LightBurn’s manual says the Air switch has no effect either way, and you switch the pump yourself.
- LightBurnLayer: Air on
- G-code
M8…M9 - Controllercoolant output (original Grbl on an Uno: flood on pin A3)
- Switch in the kitrelay or MOSFET
- Pumpair to the nozzle
- 01
 Check the pump can be switchedAutomatic kits are switched by the controller; Sculpfun’s automatic kit for the S9 and S10 is switched with M8 in LightBurn. A pump with only a power switch is not.
- 02
 Pick M7 or M8Device Settings › Other Options › GCode Devices › Air Assist chooses whether LightBurn uses M7 or M8. In the original Grbl for the Arduino Uno, M8 (flood) is on pin A3 whatever the M7 setting; M7 (mist) works only if the firmware was compiled with it. Other boards and firmware map pins their own way.
- 03Turn Air on per layerIn Cuts / Layers, toggle Air for each layer, or right-click the column header to enable, disable or invert all. Cutting layers on; engraving layers on with the knob low, or off.
- 04Know what is sentM8 (or M7) when a layer with Air on starts. LightBurn staff say on its forum that M8 and M9 are the Air Assist functions for GRBL, and that a layer with Air off makes LightBurn send M9 to turn the air off — so leave Air on for every layer if you want it to stay on. A forum user adds that M9 stops M7 too.
- 05
 Galvo and RuidaGalvo lasers have no Air switch in LightBurn. LightBurn’s manual does not cover wiring air to Ruida controllers; follow your machine maker’s manual.
… the layer runs …
M9 ; air off — a layer with Air off (per LightBurn staff on its forum)
Before the first job: test on a small piece of scrap, stay with the machine, and watch that the air comes on and off when it should. If it does not, the signal is not reaching your pump: check the M7 / M8 setting and your kit’s wiring guide. A controller pin only gives a signal; do not wire a pump straight to it. If you also changed $32 laser mode or other Grbl settings, check them with our Grbl $$ checker.
Burn marks on the back: the honeycomb bed
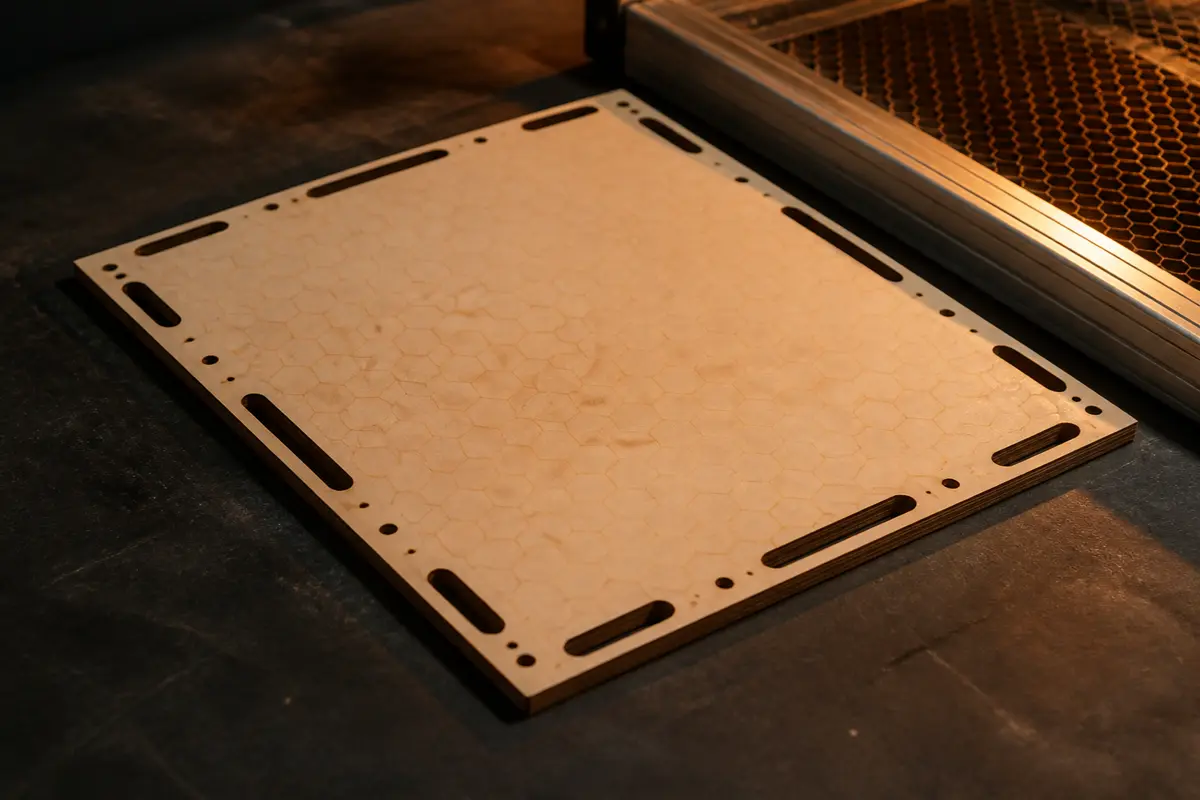
Once the beam is through, the light that leaves the bottom hits whatever is underneath. Trotec says reflections on the back must be avoided as much as possible. Its table range shows the trade-offs: honeycomb for jobs that need minimal back reflection, an acrylic cutting grid designed to prevent it, and slat (lamella) tables where you remove slats to change the support points. Epilog says its vector cutting grid dramatically reduces underside reflections and removes smoke.
- Raise the work. Trotec: increasing the distance between the material and the table also helps. It cuts small acrylic holders that sit in the grid of its table.
- Use slats for big or thick parts. Trotec’s acrylic guide: for parts over 100 mm or thicker than 6 mm, a table with acrylic lamellas generally gives the best results.
- Keep the honeycomb flat and clean. Lotus Laser, which makes slat tables, says a bent honeycomb can itself cause back reflection and cannot be cleaned; bear in mind that it sells the alternative.
- Do not overshoot. Every pass after the cut is through sends light straight to the bed. Find the fewest passes that cut through with a test on scrap, for example with our material test generator.
- Let the smoke out underneath. Air assist pushes smoke down through the cut; a bed that lets it escape keeps the underside cleaner, which is one reason Epilog’s grid “removes smoke”.
 Enclosures, exhaust and fire
Air assist moves smoke around; it does not take it out of the room. Laser makers ask for exhausts of 150 CFM at pressure (Universal Laser Systems desktop) to 350–400 CFM (most Epilog machines), against about 1 CFM added by a 30 L/min pump. Size the fan and duct with our exhaust fan calculator, and keep it running after the job until the enclosure has cleared. Check that the material is safe to laser at all on what not to laser cut.
Air assist lowers the chance of flames; it does not remove it. Epilog: never allow your laser system to run unattended. Keep a fire extinguisher at hand, and keep some air on when cutting acrylic, which Epilog calls one of the most flammable materials that can be laser cut.
FAQ
- Do I need air assist for a laser engraver?
- For cutting, makers treat it as standard. xTool’s M1 Ultra guide sets its air knob to MAX for cutting, Sculpfun ships 30–50 L/min pumps with its larger lasers, and some cut figures assume it: Sculpfun’s 20 mm plywood in one pass on the S40 Max is with its 50 L/min pump. For engraving it matters less and makers keep the air low. LightBurn’s manual says air assist can help prevent soot and charring, and aid in cutting.
- What air flow or pressure do I need for laser air assist?
- Hobby diode pumps are sold by flow: the maker figures we found run from 25 to 60 L/min. Longer lists 0.03 MPa (30 kPa) for its 30 L/min kit; the 50–60 L/min pumps give no pressure. The pumps built into xTool’s CO2 machines are rated by pressure, up to 200 kPa on the P2S. For flame-polished clear acrylic, Trotec asks for at most 1.5 psi (0.1 bar). What reaches the work also depends on the nozzle hole, which the calculator on this page works out.
- Should air assist be on when engraving?
- Usually on, but low. xTool’s software default is 1 for engraving against 4 for cutting, and Thunder Laser warns that excessive airflow can distort the engraved pattern. A little air still keeps smoke away from the lens.
- Can I use an air compressor for laser air assist?
- Yes, and Thunder Laser suggests one if most of your work is cutting. Fit a regulator, a water trap and a filter, and check the plumbing: Epilog notes that a laser set up for a constantly running diaphragm pump can keep venting a compressor’s tank, so the motor never stops. xTool’s P2 and P2S cannot use external pumps.
Sources
- LightBurn documentation — Cut Settings for beginners (the Air switch)
- LightBurn documentation — Device Settings › Basic Settings (Air Assist: M7 or M8)
- LightBurn documentation — Cuts / Layers window (per-layer Air, Gantry lasers only)
- LightBurn forum — LightBurn staff: M8 and M9 are the “Air Assist” functions for GRBL
- LightBurn forum — LightBurn staff: leave Air Assist on for all layers, or LightBurn emits M9 to turn it off
- Grbl — config.h (M7 mist disabled by default; M8 flood on pin A3 of the Arduino Uno)
- Grbl wiki — v1.1 commands (coolant state M7, M8, M9)
- xTool support — M1 Ultra Air Assist Set knob (article 1464)
- xTool support — P2 air pump settings (article 775)
- xTool support — P2S air pump (article 1683)
- xTool D1 Pro user manual, page 5 (copy on ManualsLib)
- Thunder Laser — Dual air-assist system
- Epilog Laser — Air assist: default to shop air conversion
- Epilog Laser — Laser system features white paper
- Trotec Laser — Acrylic processing guide: how to achieve flame-polished edges (PDF)
- Trotec Laser blog — Laser cutting acrylic for flame-polished edges (Chris Cudmore, 2014)
- Trotec Laser — Acrylic distance holders (back reflections)
- Trotec Laser — Cutting tables (honeycomb, acrylic grid, slats)
- Lotus Laser — Laser cutting on a honeycomb table (a maker of slat tables)
- STYLECNC (a CNC machine maker’s blog) — Laser air assist guide (water and oil in compressed air)
- Pump figures: the maker pages linked in the table above. Sculpfun S40 Max cut figure: our cut thickness sources. Exhaust figures: our exhaust fan calculator sources.
Last checked 2026-11-02 · Maker figures, LightBurn and Grbl documentation, and our calculation; no machine was tested to make this page.